To access the Opening Balances Entering documents, go to Accounting > See Also > Opening Balances Entering.
Entering initial balances is an important task when you migrate your accounting data to another application or when you start using an application for the first time (switching from manual recording).
Using an Opening Balances Entering document, you can enter opening balances for various accounts. The documents should contain information on GL account balances on the date which is the year end date or the end date of the period that precedes the period in which you start to enter current transactions in the application.
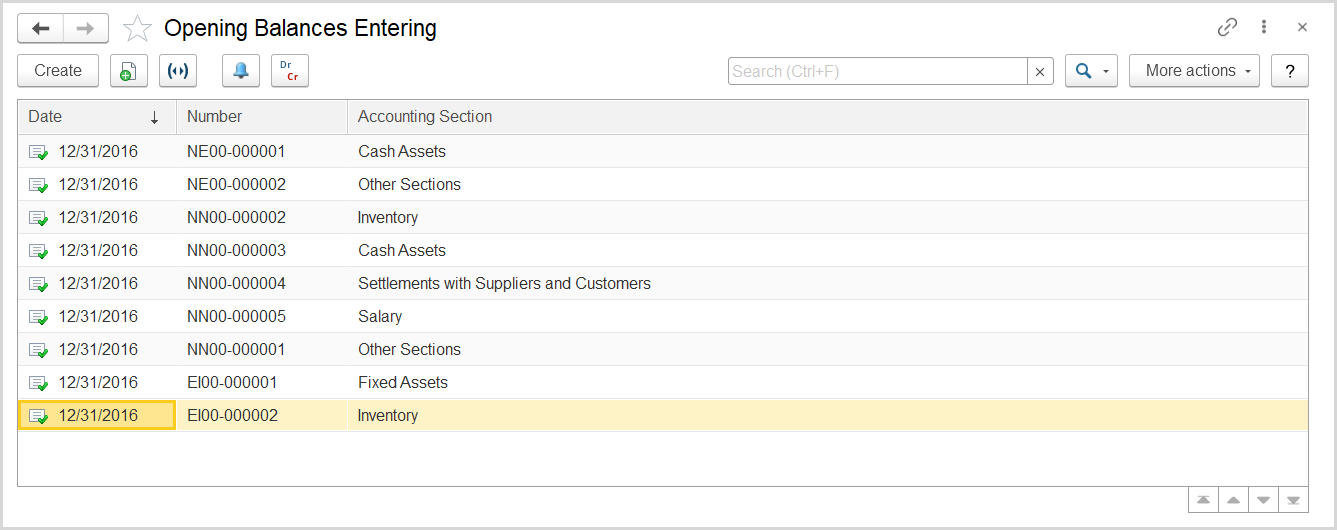
The Opening Balances Entering document
The list of documents may include for each entity multiple documents, with one document per available option (listed in the Accounting Section field) which defines specific initial balances.
The following options are available:
- Inventory: Using this option, you can provide all the information on the inventory available in the organization.
- Cash Assets: Using this option, you can enter the beginning balances of cash and bank accounts.
- Settlements with Suppliers and Customers: Using this tab, you can enter the beginning balances of accounts receivable and payable.
- Employee Business Expenses: This option is available if the HR and Payroll module is enabled on the Administration > Settings > HR and Payroll form.
- Fixed Assets: This option is available if the Enable Fixed Asset Accounting option is selected on the Administration > Settings > Assets Management form.
- Salary: This option is available if the HR and Payroll module is enabled on the Administration > Settings > HR and Payroll form.
- Employee Vacations: This option is available if the HR and Payroll module is enabled on the Administration > Settings > HR and Payroll form.
- Payroll Deductions:
- Loans to Employees: This option is available if the HR and Payroll module is enabled on the Administration > Settings > HR and Payroll form and the Enable Loans to Employees option is selected on the same form.
- End-of-Service Provision: This option is available if the HR and Payroll module is enabled on the Administration > Settings > HR and Payroll form and the Enable End-of-Service Benefit Calculation option is selected on the same form.
- Employee Benefit Provisions: This option is available if the HR and Payroll module is enabled on the Administration > Settings > HR and Payroll form.
- Taxes: This option is available if the VAT Accounting option is selected on the Administration > Settings > Taxes form.
- Loans Received and Issued: This option is available if the Enable Long-Term Credits and Loans option is selected on the Administration > Settings > General Settings form.
- Deferred Expenses: This option is available if the Enable Deferred Expenses option is selected on the Administration > Settings > General Settings form.
- Deferred Revenues: This option is available if the Enable Deferred Revenues option is selected on the Administration > Settings > General Settings form.
- PDCs (Post-Dated Cheques): This option is available if the Cheque Accounting option is selected on the Administration > Settings > Money form.
- Workwear and Tools: This option is available if the Enable Workwear and Tools Accounting option is selected on the Administration > Settings > Assets Management form.
- Other sections:
You can filter the list by entity and accounting section. If you don't see a specific document, rearrange the list by date or number. You can change the list display settings to suit your particular needs. To learn more about the list display settings, see Working with the item list.
The toolbar buttons
You can create the Opening Balances Entering documents based on the Inventory Reconciliation, if you enter the inventory balances after the physical inventory counting was performed.
To view the journal entries generated for the document, click the Document's Transactions Details button ( ).
).
In this section