...
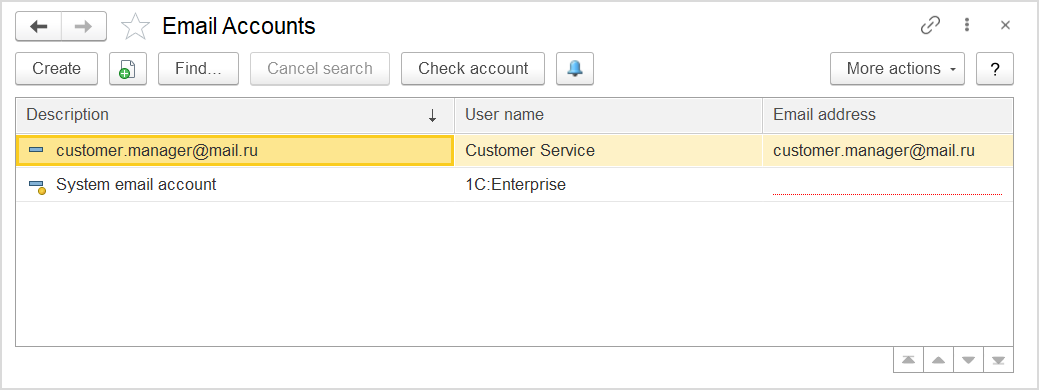
The list of email accounts
...
Providing connection settings
- To add a email account, click Create. The Create email account dialog box appears.
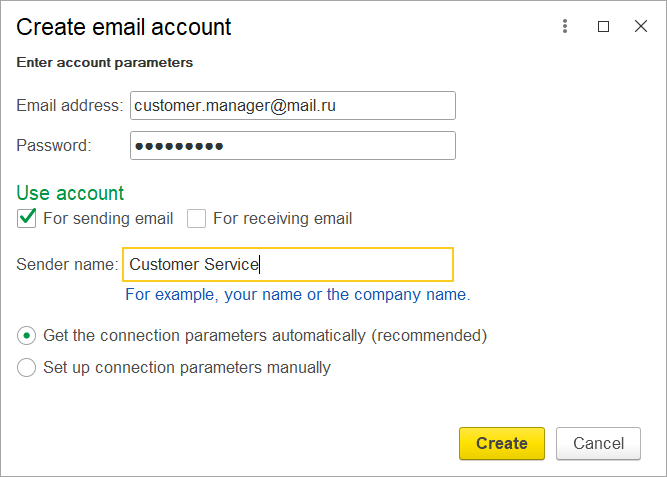
- Type the email address for of the account you are going to use.
- In the Password field, paste the password generated by means of the email web service associated with the specified email account.
- If you are going to send emails from this account, select the For Sending Emails check box. If you are going to receive emails to this account, click the For Receiving Emails check box. Note. If you intend to use this account only for sending emails from the program without the ability to download emails, or only for receiving emails without the ability to send them, clear the corresponding check boxes; this will facilitate configuring.
- Make sure the Get the connection parameters automatically (recommended) option is selected. Alternatively, you will need to specify all the connection settings manually.
- Click Create to complete the creation of the email account. If possible, connection settings will be received determined automatically. This operation can take several minutes.
Important: If you see the following message: Cannot determine connection settings automatically. Configure the connection parameters manually - click Configure the connection parameters manuallyand refer to How to provide connection parameters manually.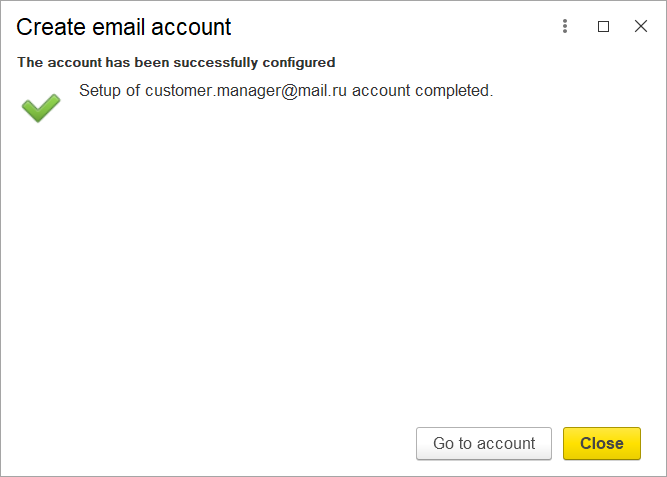
- Your If you see the message as on the above screenshot, your email account was configured successfully.
- Click Go to account button and review other parameters of this email account (refer to the section below) or click Click Close to close the dialog box and save the account as it is .
Adding a Email Account (Other settings)
...
- or click the Go to account button and review other parameters of this email account. To provide other settings later, go to: Administration > Master Data > Email Accounts. For details on other settings, refer to Email Account settings.
On the toolbar, click Check the account button. The system validates the settings by sending a test email.
...